FREE test glider - Stratos
$0.00 $2.99
Download this to try out your hand at printing gliders, and learn to adjust and tune your flyers. Free, classic glider goodness....what could be better?
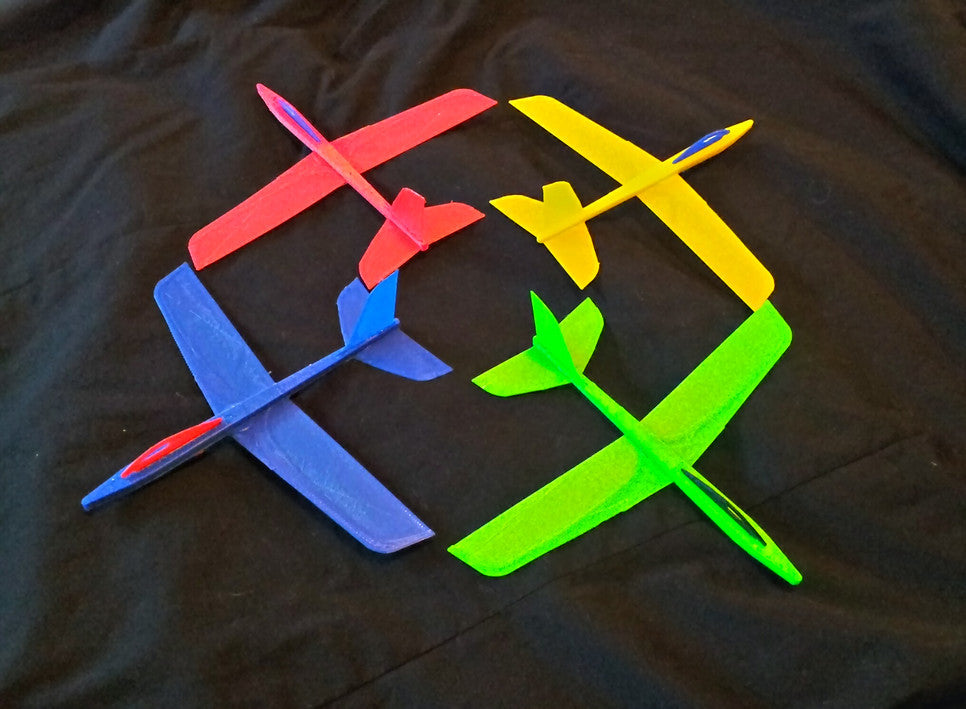
One of the easiest gliders to print, the Stratos is a good flyer with a balsa glider aesthetic. It is a stable, predictable flyer that launches easily by hand or with a rubber band.
Not quite as high performance as our other gliders, but consistently delivers smooth flights and big arcing loops when properly adjusted...and has a unique signature maneuver.
**important** you will need to add a little bit of "up" elevator bend or the plane may dive or prefer to fly upside down. This is intentional - the plane has a neat feature derived from its near neutral stability - if properly adjusted with just a little up elevator, the plane can be made to loop high, fly inverted for a bit, then swoop down and return to right side up flight...it's really cool when you can get it just right. For this to work, the printing instructions below must be carefully followed.
Print the Stratos using ABS. .20 layer height (or close), 2 perimeters, and 2 solid layers, 20% line fill. Use a fill orientation of 0 degrees to the axis of the fuselage (natural axis of the print), so that the first layer runs forward and aft.
Print the launcher with 3 perimeters (2 for .5 nozzle), 2 solid layers, and .35 line fill. Two perimeters are not enough and will break. Scale the part to your preference - it is not layer critical.
Glue the tail and canopy/hook into place with a tiny amount of superglue.
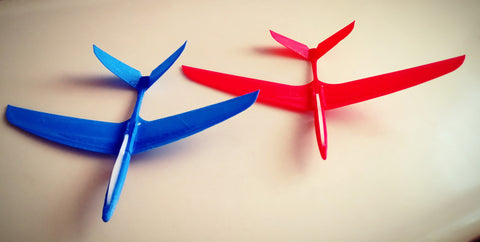
Carefully bow the wings upward to give a slightly rounded dihedral.
Add a tiny bit of up elevator until the plane flies straight and level.
left to its own devices, the plane will want to dive sharply under and fly upside down. A small up elevator adjustment will correct this tendency.
Put on a nice stretchy (18-24" extended) rubber band on the launcher, and fly!
Flight tips:
As designed, the plane has nearly neutral stability and can be trimmed to fly right side up or upside down if only a very small amount of up elevator is dialed in.
If adjusted in this way it is possible to perform a half loop terminating in a slow, extended inverted glide, usually rolling to right side up due to the dihedral. If you can get it tuned for this, you can get some very long flights this way!
A small amount of weight (3mm washer, etc) can be glued to the fuselage forward of the hook for more stability or longer flights.
For thermalling, keep it as light as possible. Adjust for circling flight of 50 - 75-foot radius. Trim for slowest possible flight without stalling, then in 30 - 45 minutes the control surfaces will have relaxed to close to being correct. Make tiny adjustments until maximum flight duration (not distance) is achieved. You will need a strong thermal (or micro-thermal) to gain altitude, as this is a tiny model, with a short wingspan. I have had some luck in parking lots and ridge lift situations.
Except in extreme cases, do not bend ailerons in the wing. Use the elevators as elevons instead. Using the rudder will cause side-slip drag, and will result in shorter flights. If the model seems to be skidding, use the rudder to align the fuselage to the direction of flight, then elevon tweaking to get straight and level or any other desired flight profile.
A neat trick is to adjust the plane for straight looping flight, then launch at about a 30-degree roll angle, slightly upward. Keep adjusting launch and control profiles until the plane circles around so that you can catch it.
Related products

Share this item: